Why I chose this decal
|
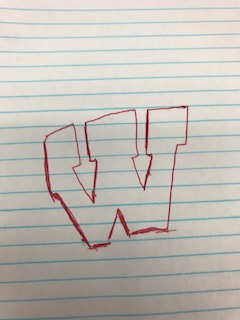
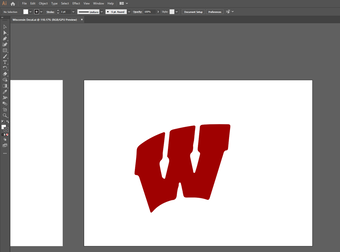
To start the process, I brainstormed some ideas for what I wanted my decal to be. I came to a conclusion that a logo of a sports team would be cool. Next, I had to find out what team. My first thought was the Waunakee Warrior's logo, but that would have been to hard because of how precise the cuts would have to be. Then I settled with the Wisconsin Badger's logo since we live in Wisconsin. The logo has 3 color's: Black, White, and Red. I also could do a lot with the logo.
|

|
|
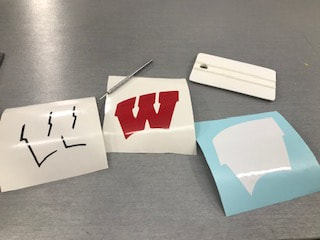
How I made it
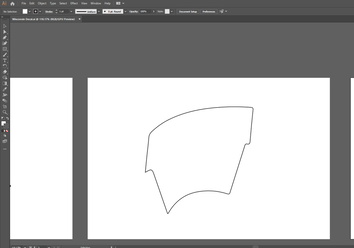
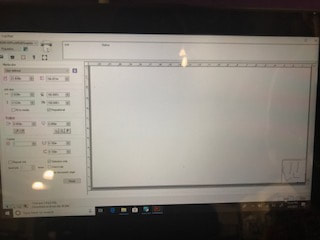
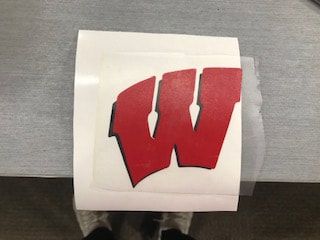
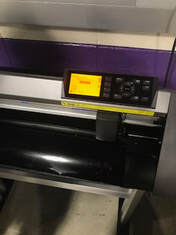
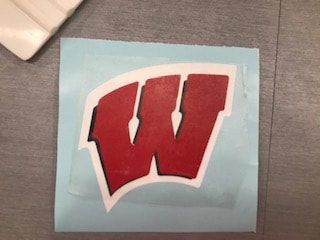
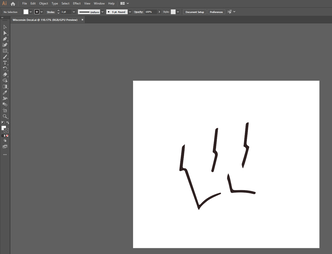
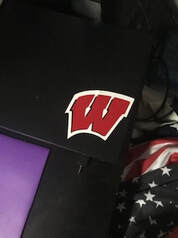
I used Illustrator to construct my three different cuts for my decal. I copy and pasted the complete logo into illustrator and then cut each part off of each other and put them into separate art boards. I then saved the file and went to the vinyl cutter. I loaded up each color and began to cut out the three different parts. Once all pieces were cut out, I took a weeding tool to help extract all the excess pieces to the decal. Then I took transferring tape and took the top layer, put it on the second layers, then took both of those and put it on the bottom layer. The decal was then ready to be applied. I decided that I would put my decal on my Xbox because I didn't know what else to put it on.
|
|
|
What I Learned
During this project, I learned more about illustrator. I was able to learn about all sorts of new tools on how to create the best looking decal. I also learned how to use the vinyl cutter. I was able to teach myself and get the job done efficiently in the work time provided. All in all it was a great learning experience for me.
